I first built my ‘prototype’ cockpit in 2010 based on Nigel Doyle’s design and method – this was using MDF cut in very straight lines and although gave an immense amount of enjoyment I decide that my first version used up too much space, painted poorly (not even the right colour) and didn’t really look like how a real Airbus cockpit looks… This was completely my fault, I generally just want to get things finished so I can start ‘flying’ – this time I am taking my time, not rushing and generally paying more attention to detail (measurements, correct colours, use of faux leather instead of just painting etc.)

Although at the time I did not intend on it being the prototype and the only bad thing with this particular hobby is that you always want to achieve better… this is what has now driven me to re-build my cockpit from scratch using official Airbus measurements and this time implementing outputs (LED’s, 7-segment displays) as well as just inputs.
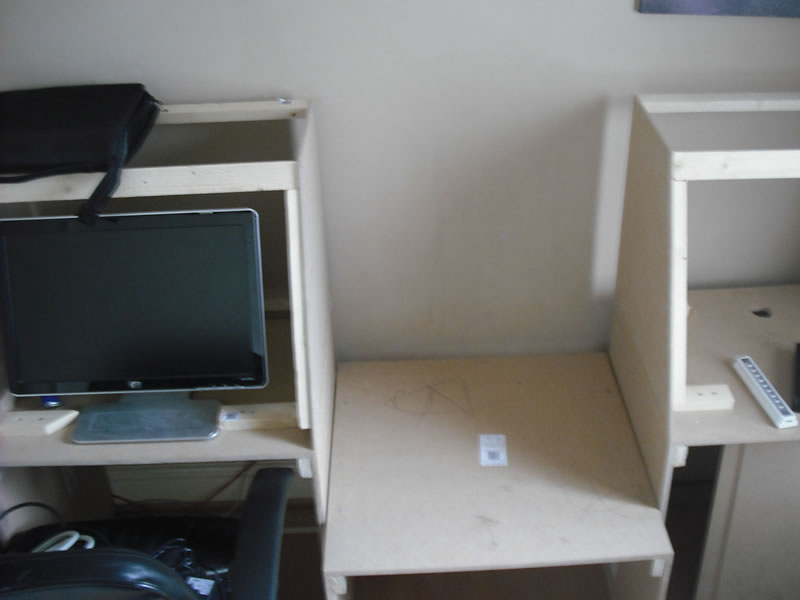
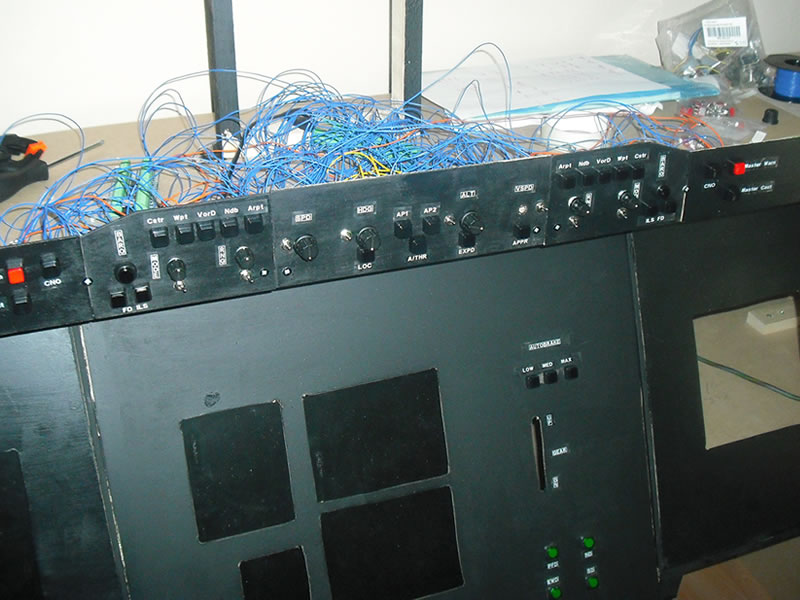
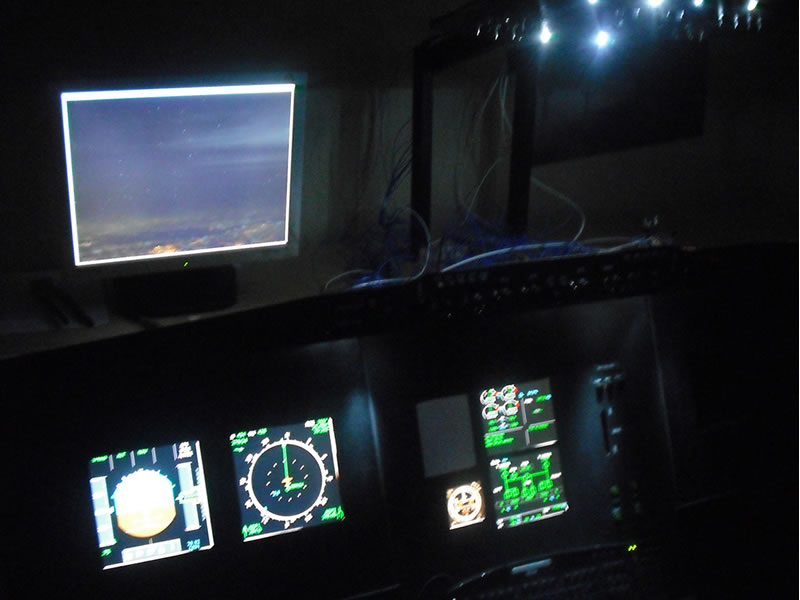
I have posted a few photo’s below of my original cockpit which is now well and truly gone… I’ve re-used some of the original MDF used in my new cockpit MIP frame!
The prototype version was a great learning experience and allowed me to trial the use of the Leo Bodnar BU0836X cards and the various electrical components such as rotary encoders, toggle switches and various other bits and pieces.
As you can see from the photo’s my original prototype cockpit was a two seater but if I’m being honest I have no one else that would really fly with me so I have now decided to have the extra space, save some money on the extra materials and therefore the Mk2 cockpit is a single seater A320 but could extend it in the near future if a friend of family member did start showing interest in flying with me 🙂