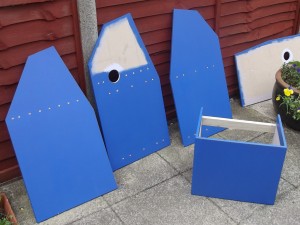
Another productive day yesterday – As planned I managed to sand down all the primed panels and pedestal sections as well as the seat mount and managed to give them their first coat of the Airbus structural blue colour (RAL5017) as well as roller-ing on the first layer of final colour I also sanded down the side-stick pedestal that I started on earlier this year (still need to do some more work on this though!) and also made some holes for cable management in the MIP panels.
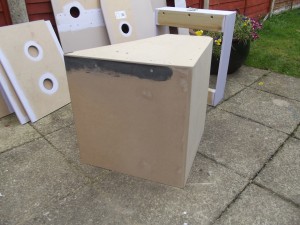
To start the day off I got all the panels and pedestal sections out of my shed and began to sand down the first layer of primer that I had previously painted onto my seat box/mount and then applied the second layer (to ensure it dried before the end of the day).
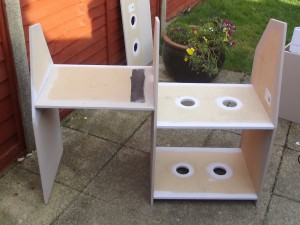
Next up I had to measure and precision drill holes for the wood screws into the main panels and connecting monitor shelves as I knew that drilling directly into MDF sheet without drilling pre-made holes would cause the MDF to split, by drilling it now before applying the
top coat of paint I was able to also counter-sink the screw heads making it look more professional once all screwed together, so I also counter-sunk the screw holes.
After I had counter-sunk the screw holes I then sealed the exposed MDF fibres once again with my spare emulsion (what I was using as primer) and then once that had dried decided to screw together the MIP to ensure all my measurements and precision drilled screw holes
lined up (which luckily they did ;))
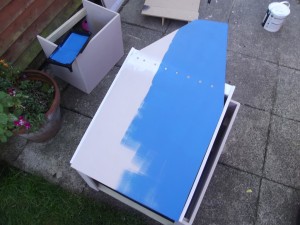
Now that I had proven to myself that all should be ok once it was time to re-assemble in my spare room I then carefully unscrewed the structure and then lightly sanded down all the panels for the first layer of RAL5017.
As you can see from the picture the first layer sits nicely on top of the primer layer and is starting to look much better 🙂
Once all panels were painted I left them out to dry, luckily as rain clouds started forming above the paint had dried within 30 minutes and I then stored them carefully in my shed to allow them to ‘fully harden’ over the working week so that come next weekend I can apply the two top coats and then hopefully start adding some of the faux leather trim to the glare shield and centre pedestal rim.
I still obviously need to prime, paint and add trim to the side-stick pedestal too of which I will do hopefully next weekend as I mainly concentrated on the MIP, Centre pedestal and seat mount this weekend.
Roll on next weekend!! – If I’m lucky I may even be able to re-locate the MIP frame inside the house,a assemble and maybe even mount the glare shield which should then add extra stability to the MIP frame.


